When you absolutely can’t hold parts in a vise, the SmartVac 3 Workholding System provides a simple and streamlined solution with vacuum chuck workholding. The system does NOT require an expensive and cumbersome electric vacuum pump. The system also uses customizable Top Plates to easily create custom fixtures for small or irregular parts. No pump, no hassles, no brainer.
FEATURES
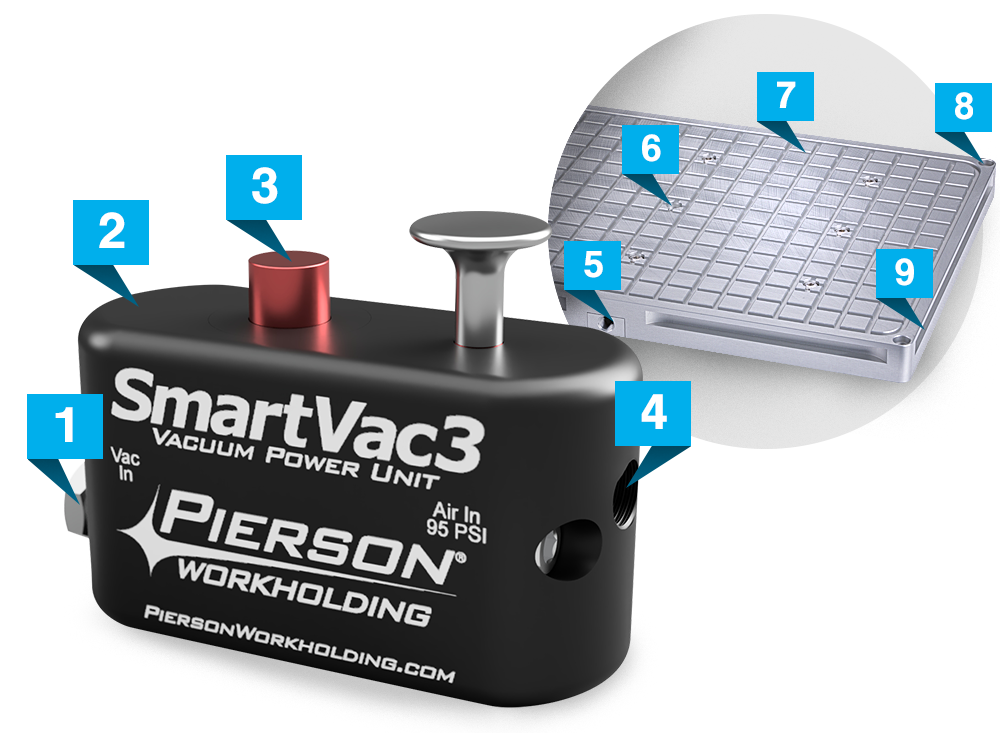
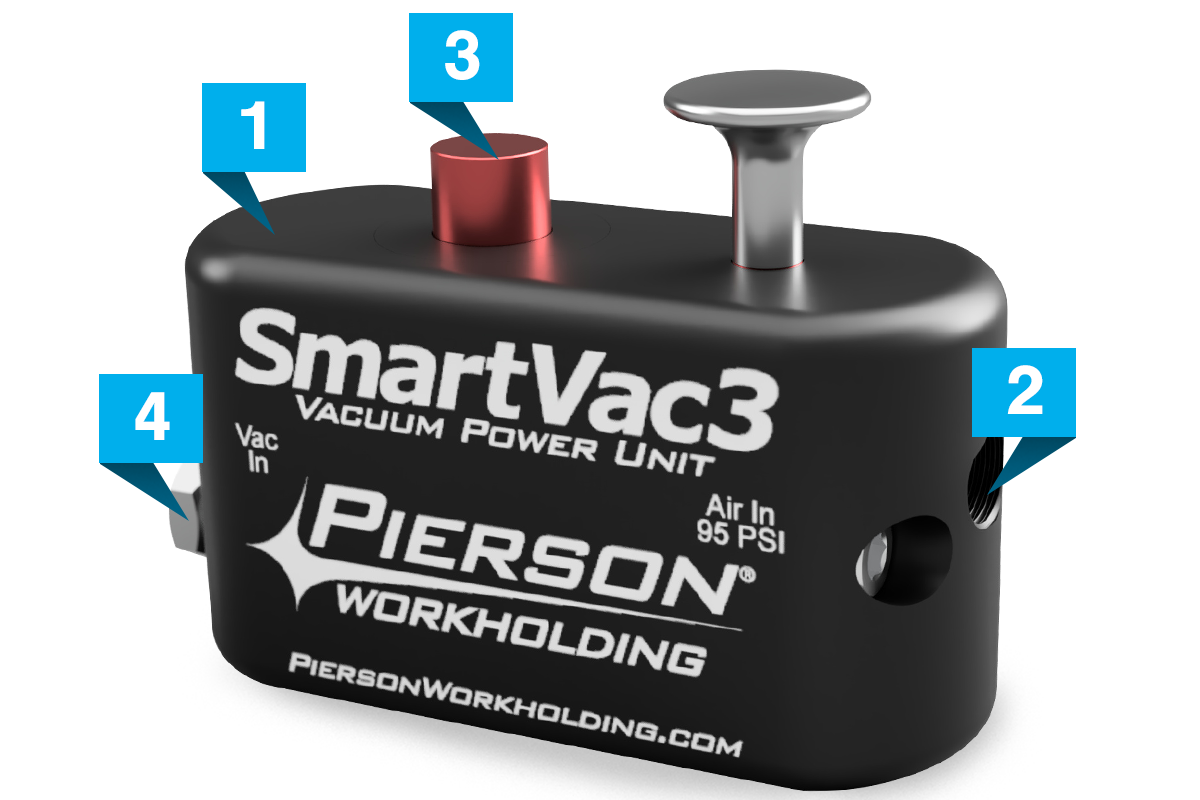
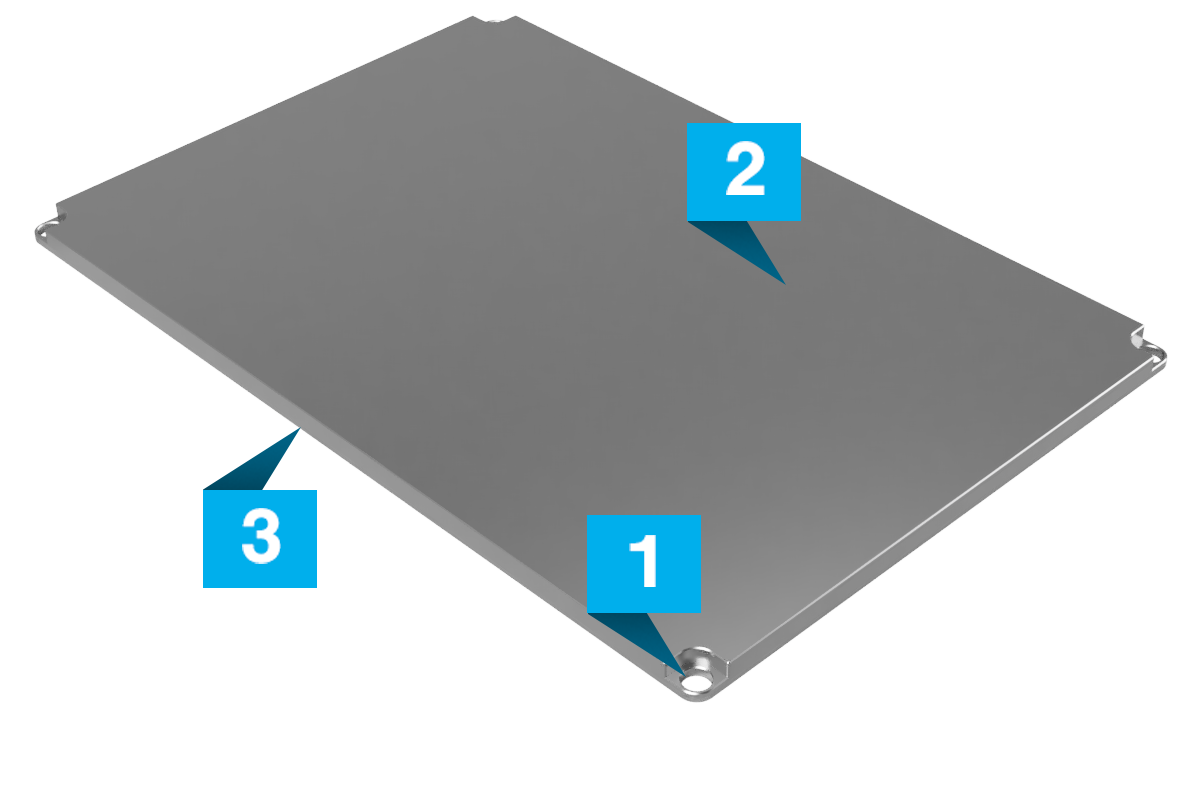
Filter free exhaust port means coolant and small particles pass right through the system
Anodized and laser engraved finish
Vacuum indicator button lowers flush when at full vacuum power
1/8” NPT inlets
Vacuum inlet (1/8” NPT)
Multiple vacuum ports enable up to nine parts to be held on one chuck
Anodized for corrosion resistance
Top plate mounting holes for custom workholding applications
Side step for all-around clamping
Vacuum Chuck starter packages
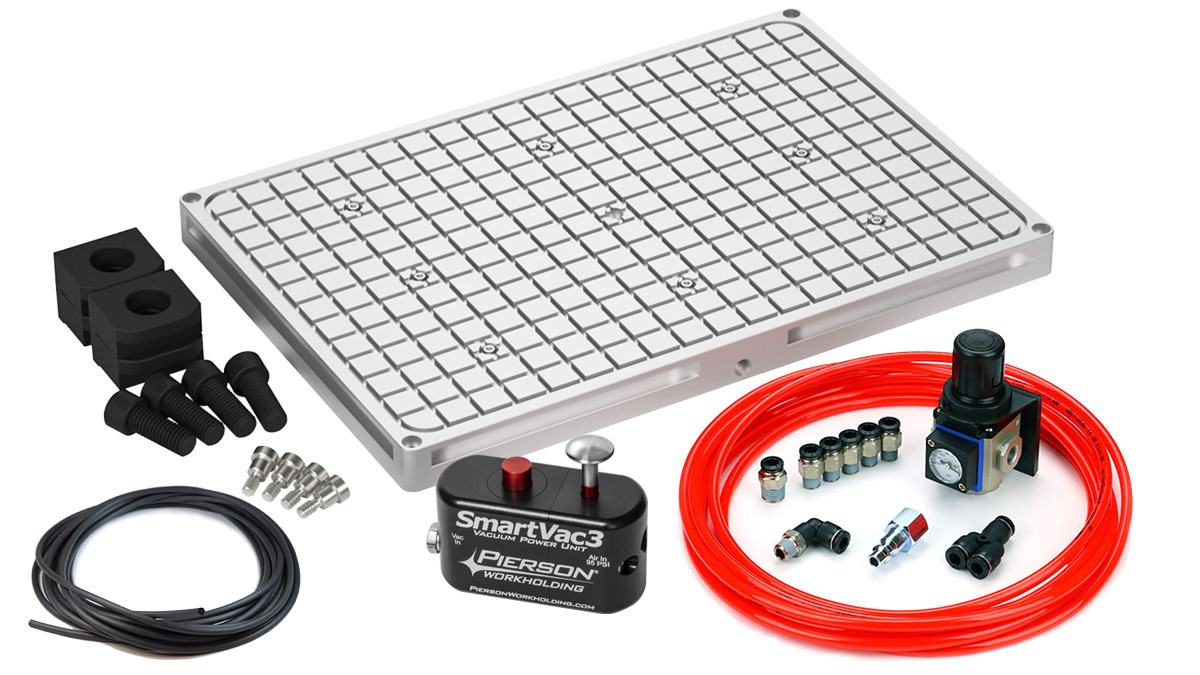
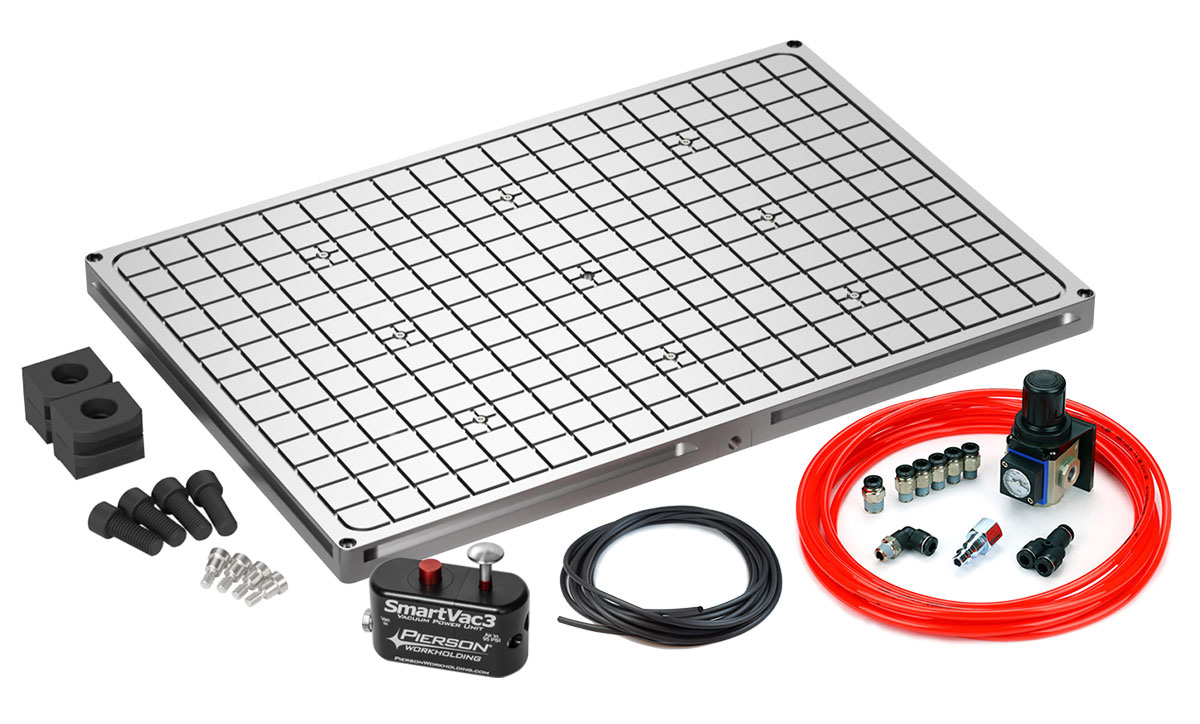
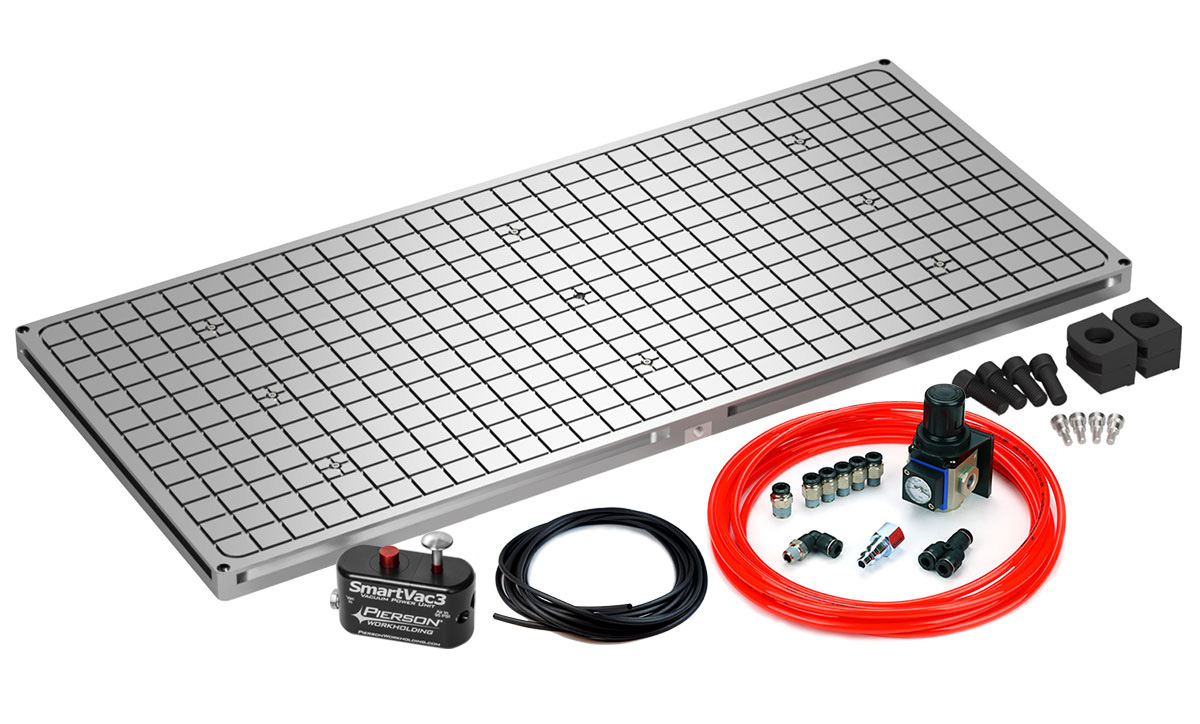
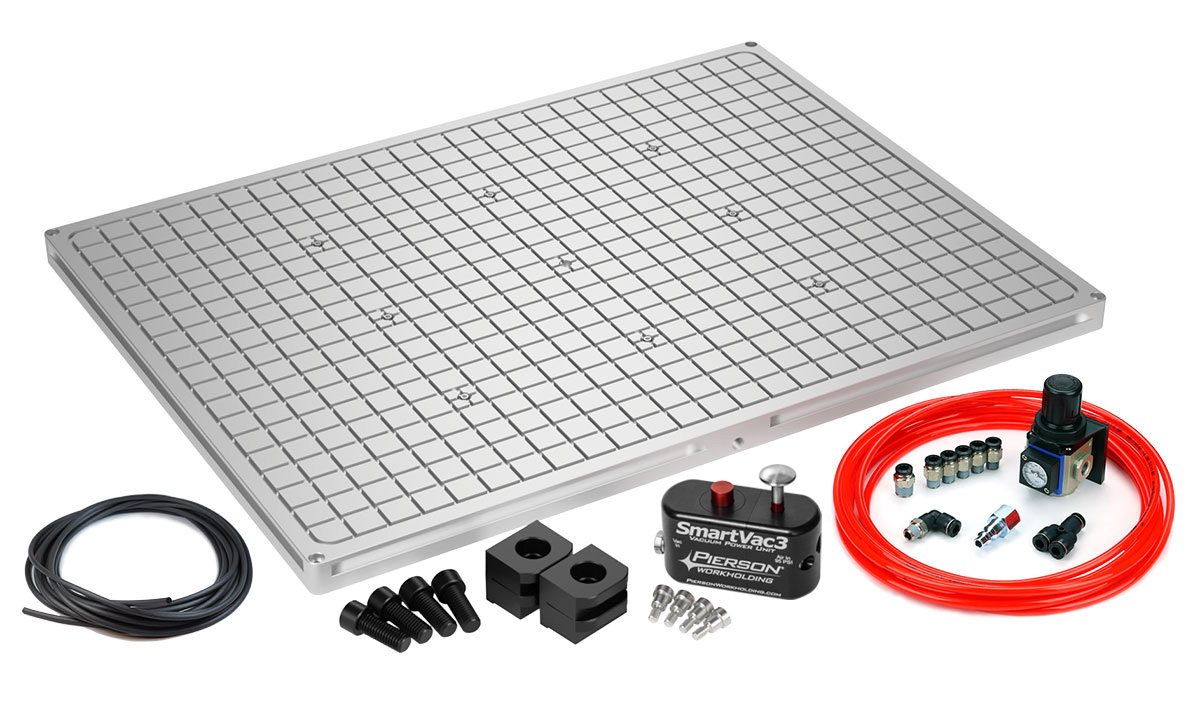
We like to keep things simple. That’s why we’ve packaged the SmartVac 3 System in a Starter Package which includes EVERYTHING needed to take the first step into vacuum workholding.
SmartVac 3 Starter Package Includes: SmartVac 3 Base, Vacuum Control Unit, Connection Kit, Vacuum Gasket (50′), Clamping Hardware, and SmartVac 3 Manual
Starter Package with 9.5″ x 14″ Base SV3-Starter-914
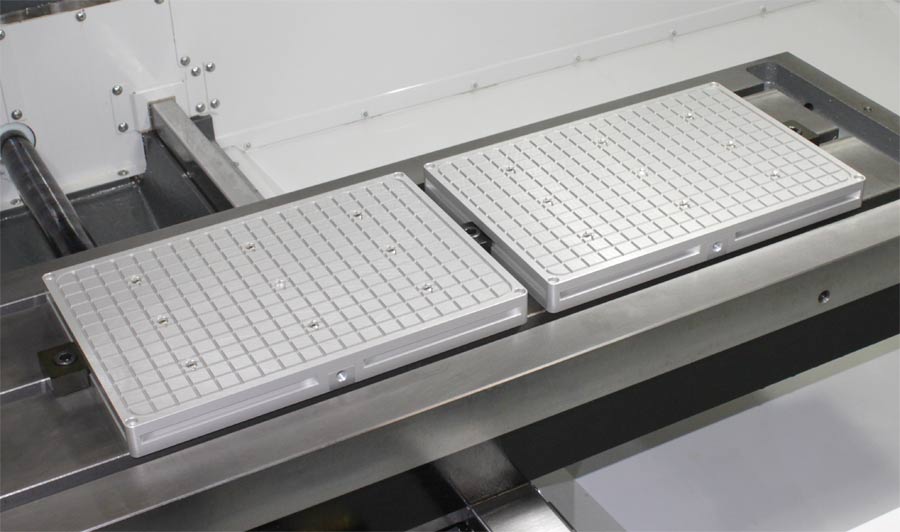
The SmartVac 3 Vacuum Chuck Base is machined and ground flat and parallel to an accuracy of ±0.0025″ across the entire surface. All Bases are .950″ thick and are designed to accept our Top Plates and locate them with a repeatability of 0.001″. This opens up a world of custom fixturing to hold multiple parts or unique shapes not readily held by a grid pattern.
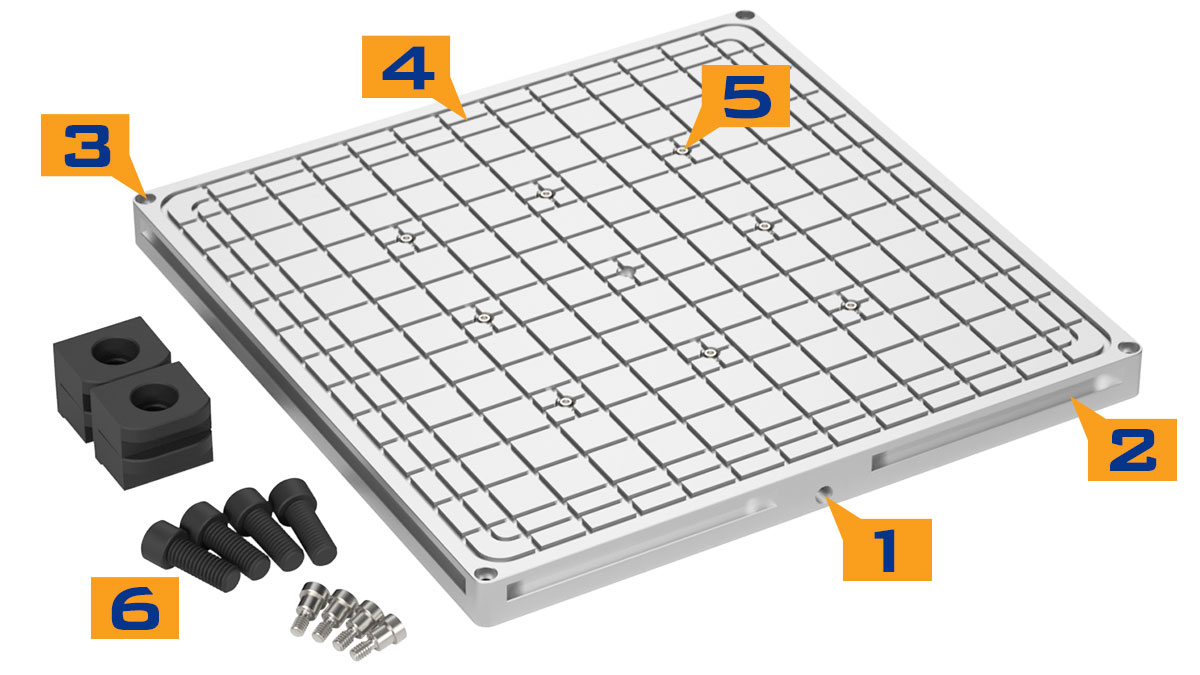
Vacuum Tables
Vacuum inlet (1/8-27 NPT)
Clamp on any side.
Threaded holes for mounting Top Plates for custom workholding.
The 1313 Model includes a groove for 12″ square workpieces.
Multiple vacuum inlets enable up to nine part positions per chuck.
Includes Toe Clamps, Bolts and Shoulder Screws for Top Plates.
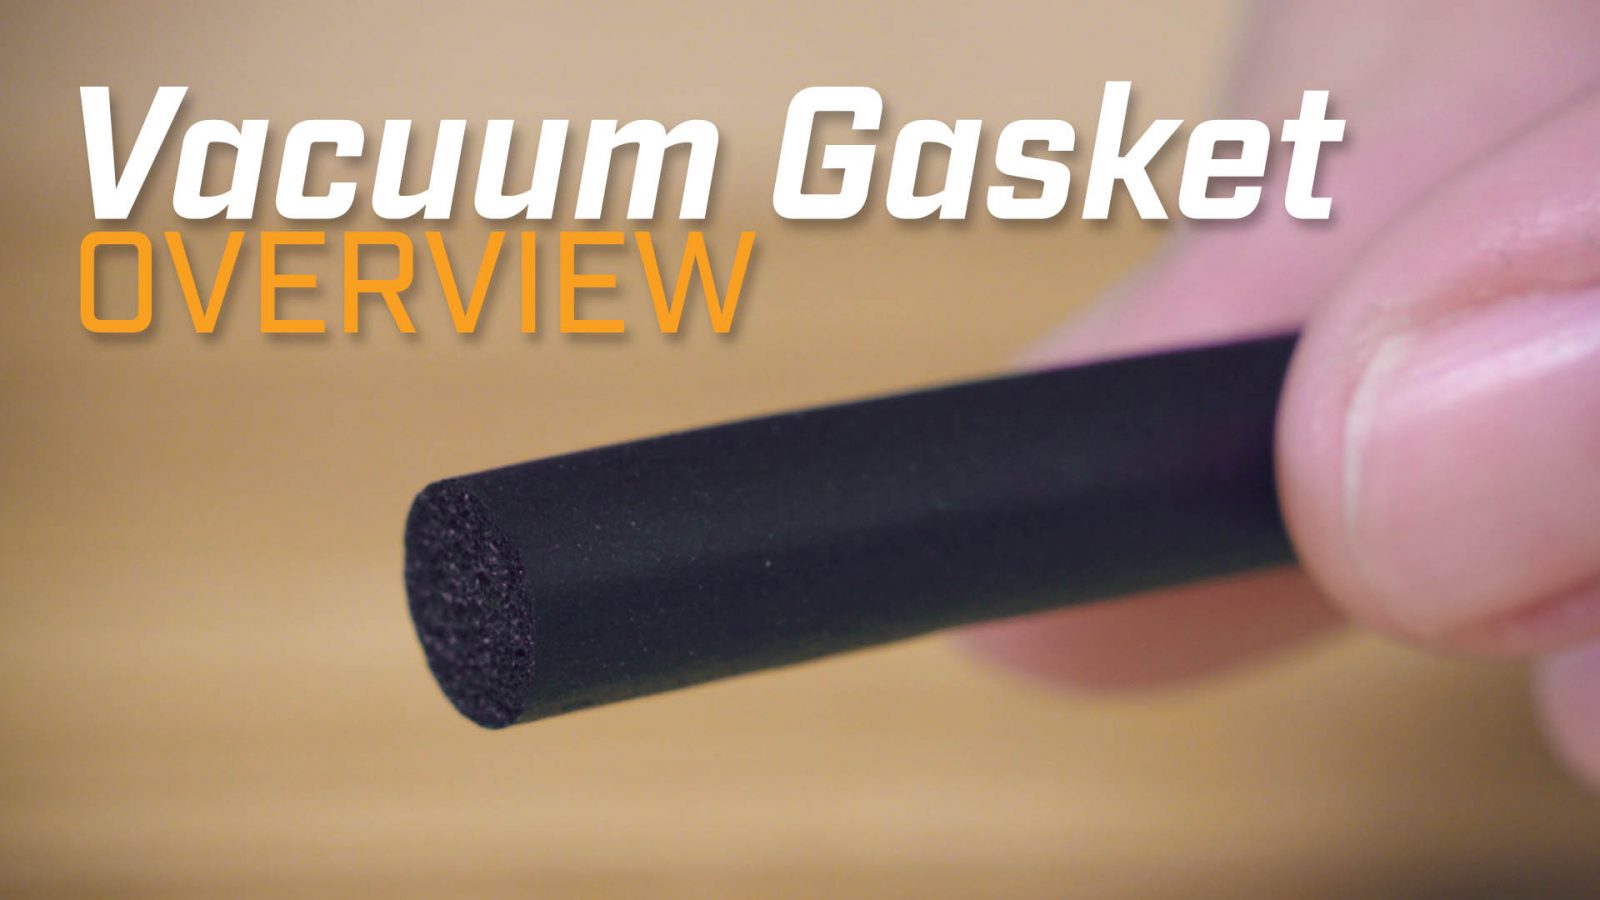
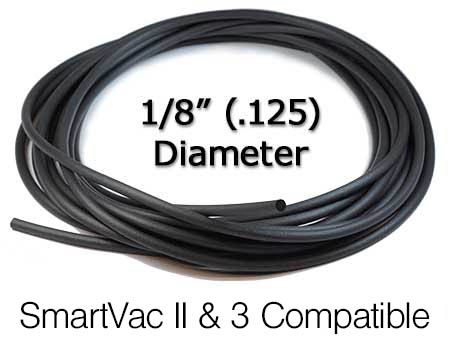
Not all gasket material is the same!Use this premium gasket cord with the entire SmartVac 3 product line.This vacuum gasket cord is specifically designed to be use for vacuum workholding applications and is formulated to be oil and coolant compatible.It is soft and easily compresses into grooves unlike O-rings.
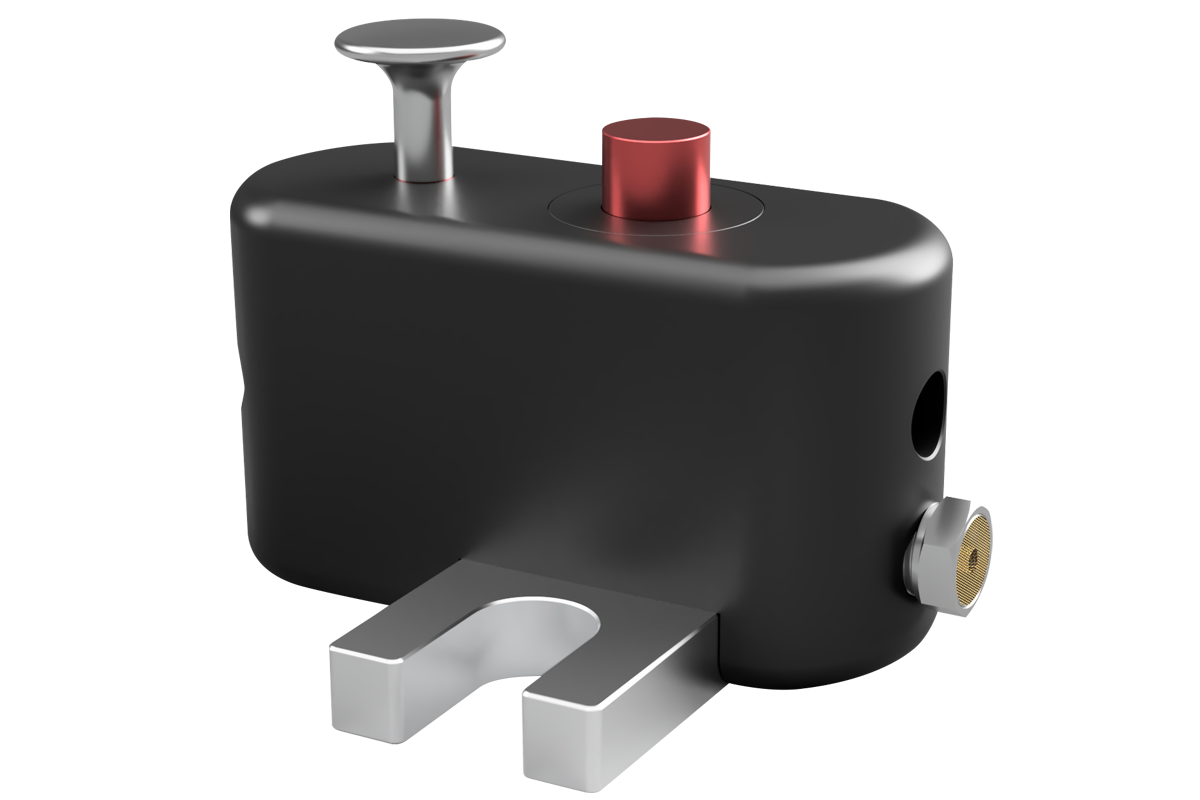
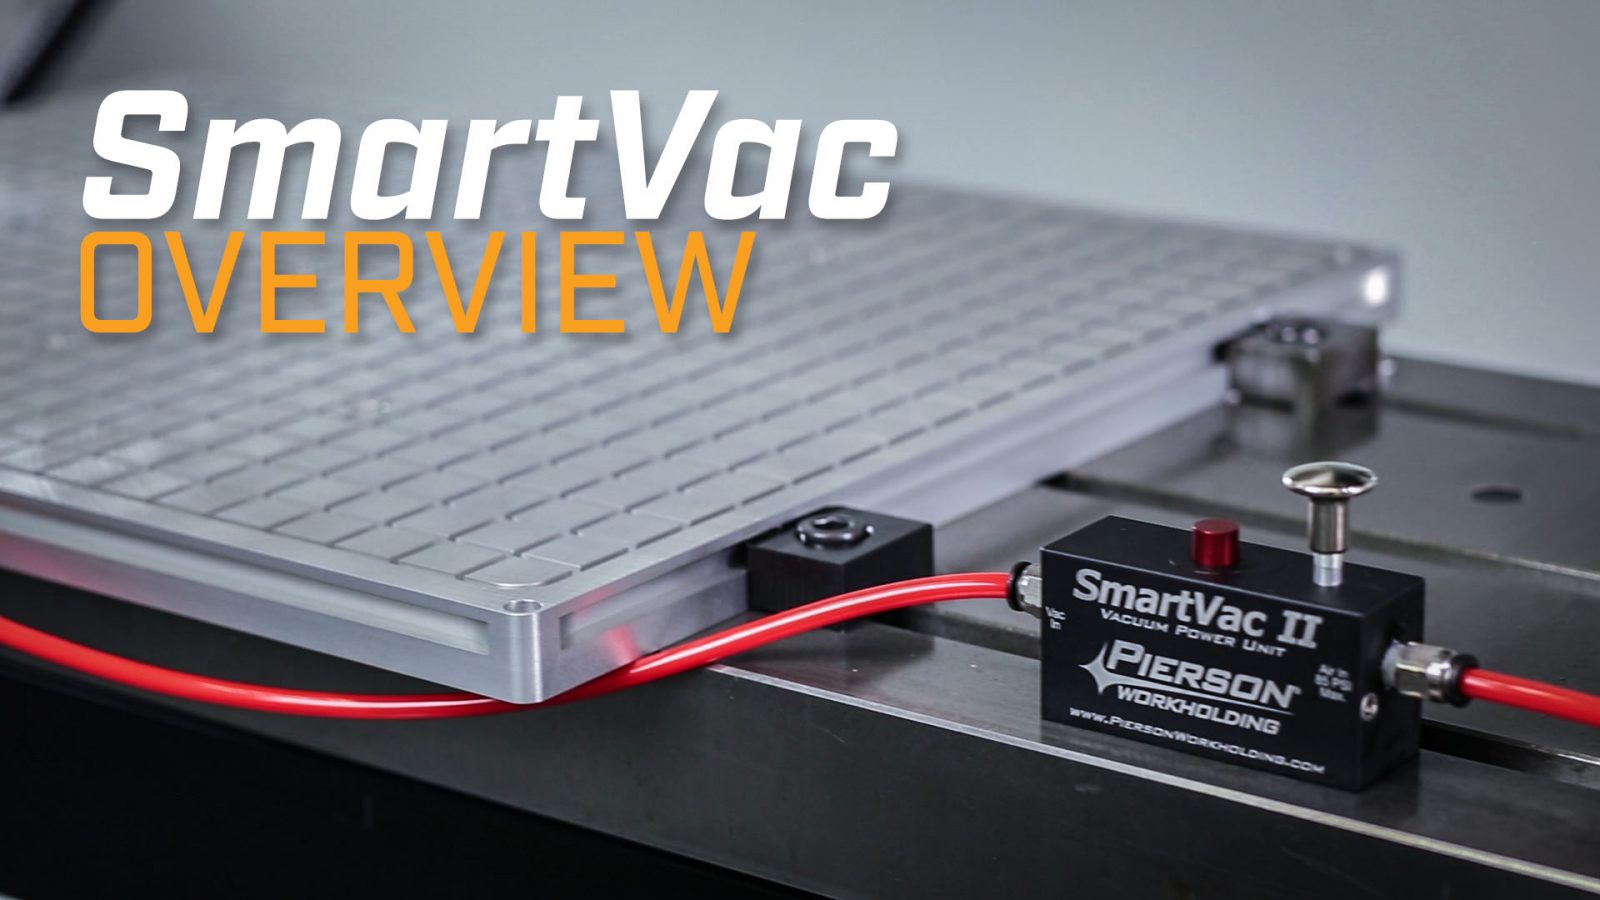
The Vacuum Power Unit (VPU) is the heart of the system. The vacuum is generated, turned on and off and monitored from this single unit. Compressed air enters at 95 PSI which is converted to 28″ Hg (14 PSI) of vacuum power – equal or better than traditional vacuum pumps and without the need for filters or coolant traps. The VPU is a low flow, high level pump that is intended to work with non-porous work pieces. Best of all, it only consumes 0.8 CFM of air (1 CFM max vacuum flow) which is about the same as blowing on a hot cup of coffee.
SmartVac 3 VPU
Anodized and laser engraved finish.
1/8″-27 NPT inlets.
Vacuum indicator – Flush with the top indicates the system is at full vacuum level.
System exhaust – Swarf and coolant simply pass through the unit’s exhaust port.
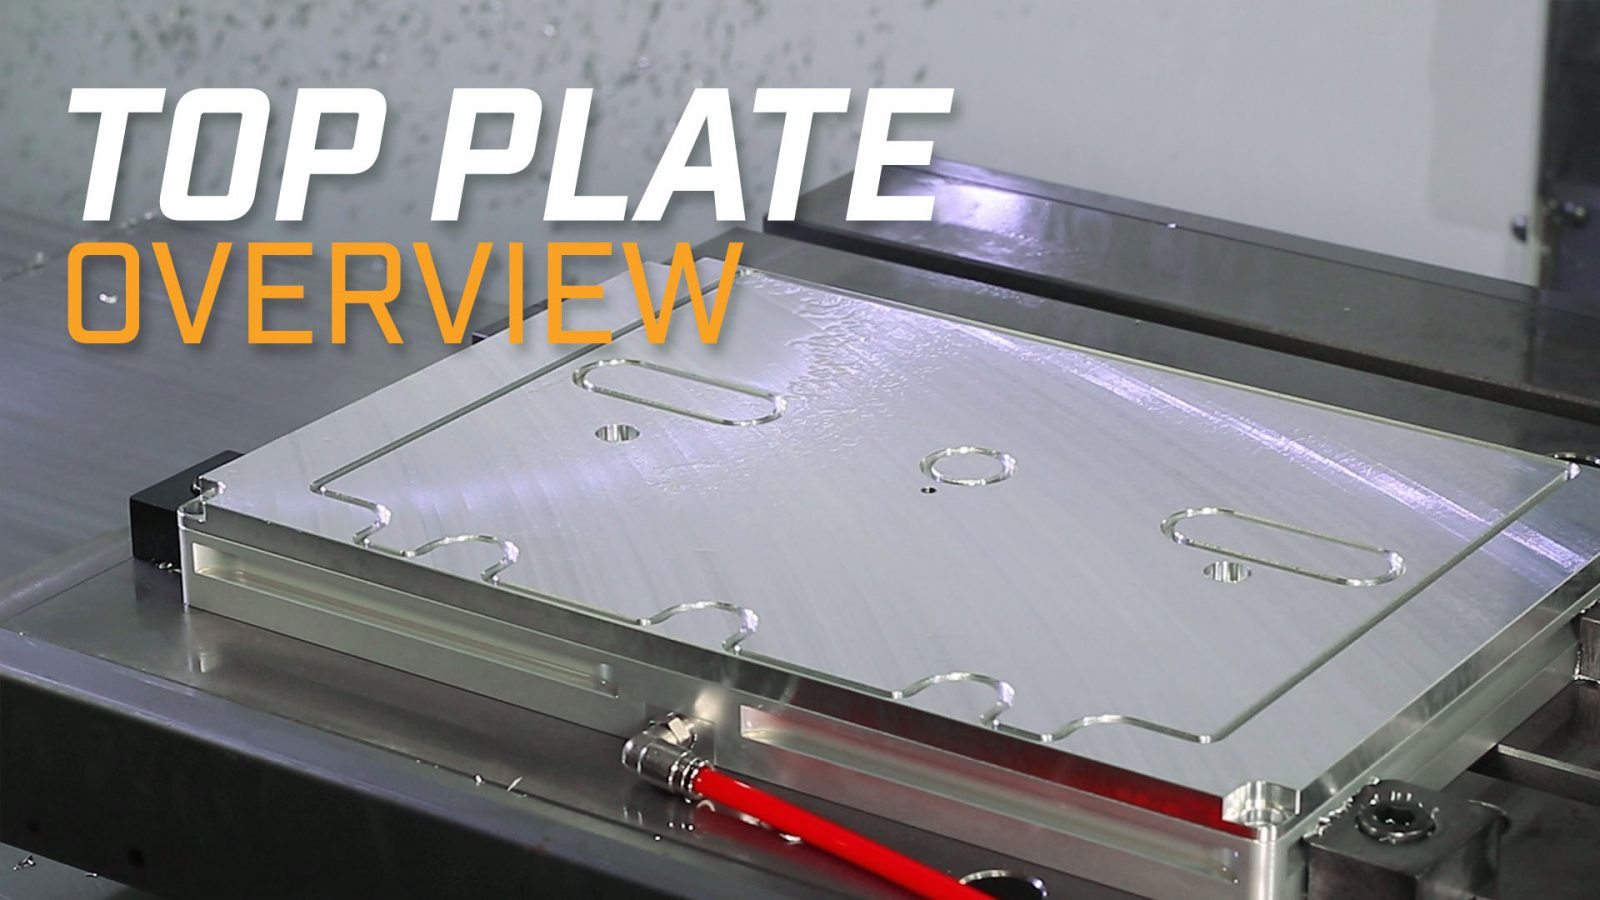
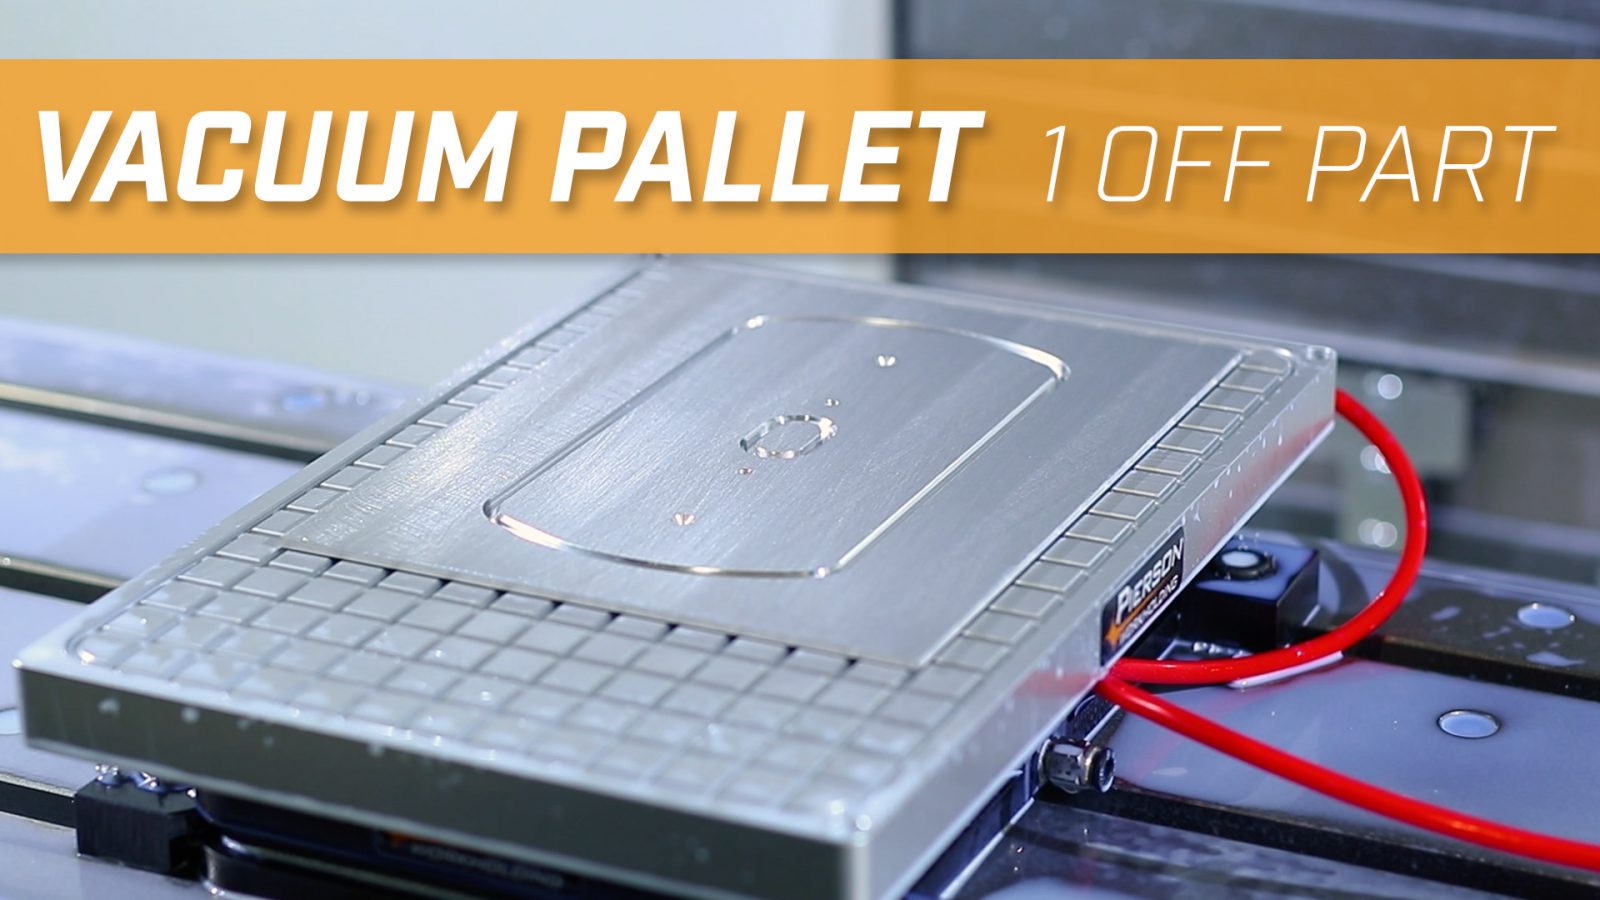
Use a Top Plate to customize a fixture to your part’s exact size and shape. Simply machine a 0.118″ slot 0.100″ deep just inside the edge of your part profile and tuck the 1/8″ gasket cord in the groove. Drill a through hole to allow the vacuum to flow inside the perimeter of the gasket area.
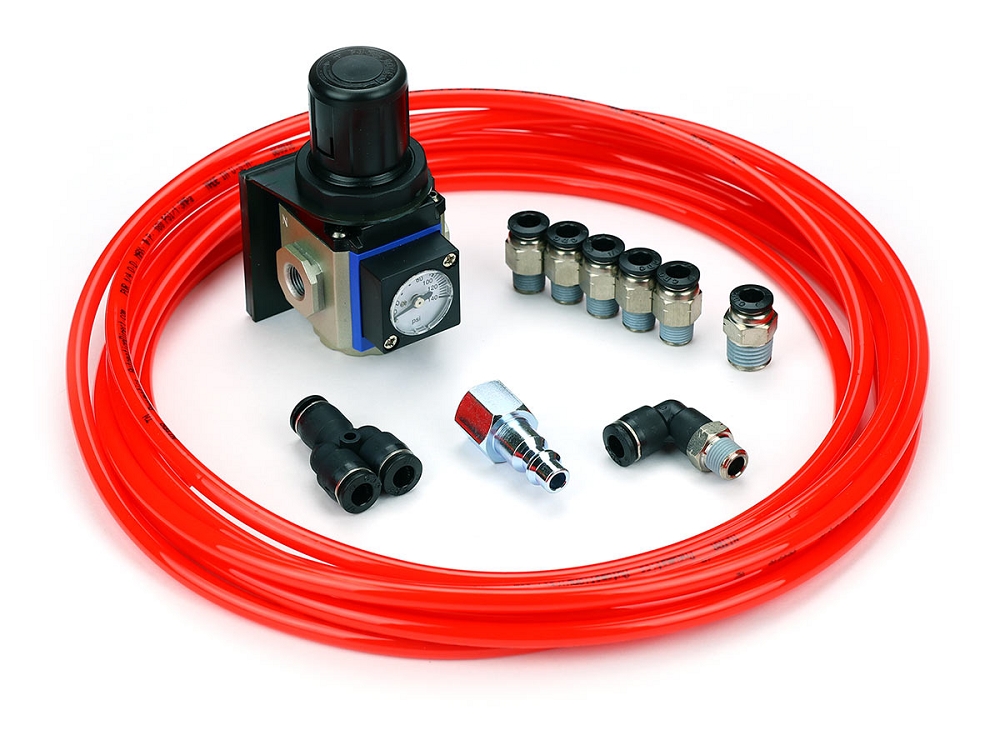
Connection Kit
Air Line (15′)
Industrial Quick Disconnect
Wye Fitting
NPT Fittings (7)
Regulator with magnetic mount
Setting up your system is quick and easy with this Connection Kit. We packaged everything you’ll need to have your vacuum chuck set up and running within minutes of opening the box. Highly recommended when purchasing the Vacuum Power Unit above.
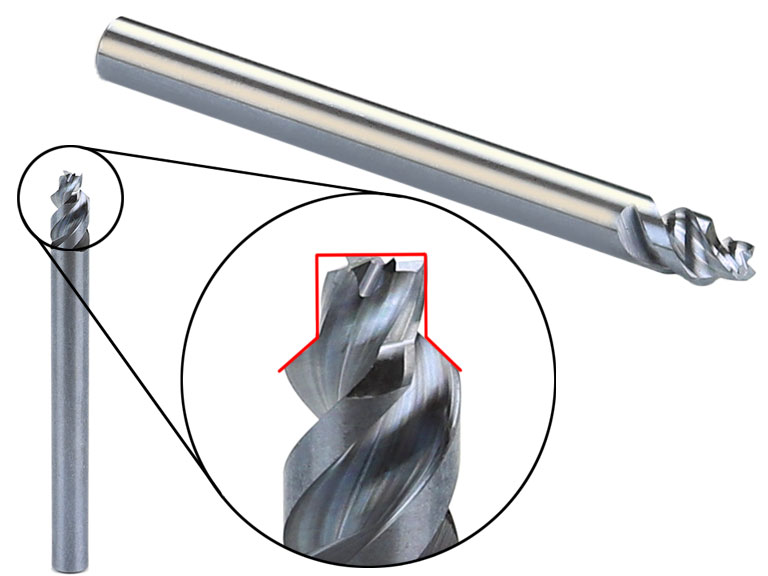
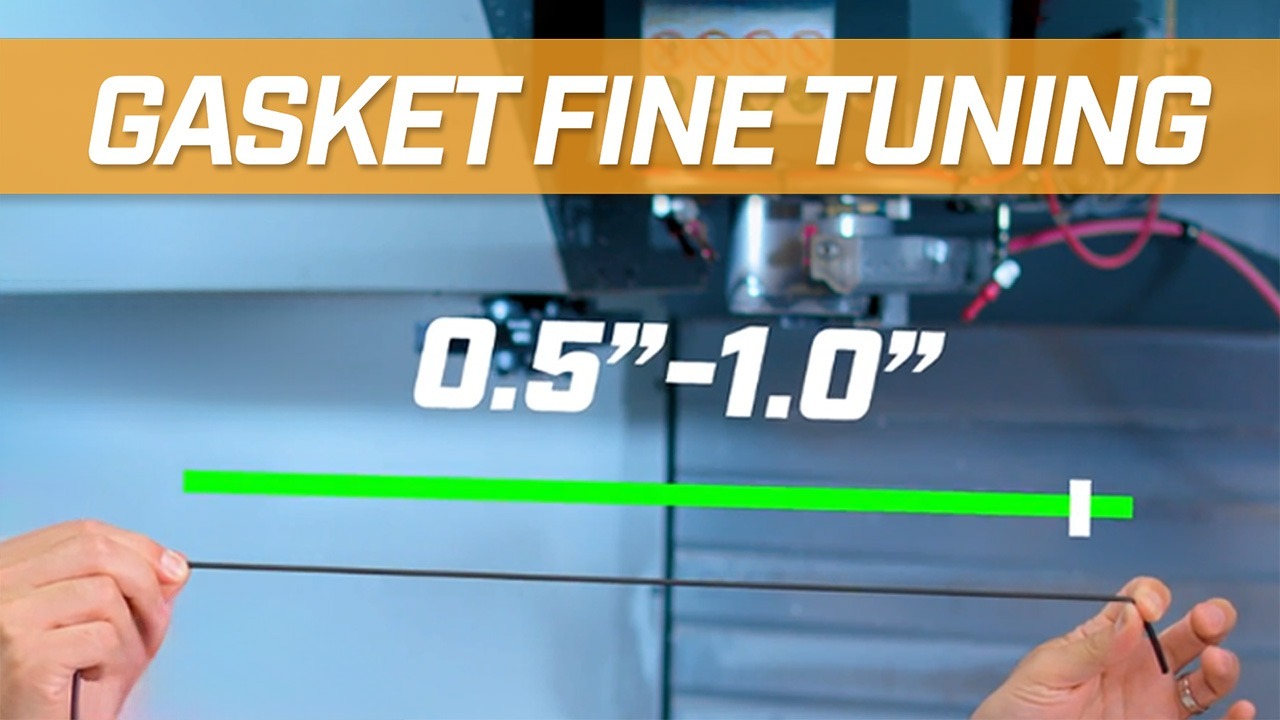
Our custom made endmill is used to cut perfect slots for our 1/8″ diameter vacuum gasket (0.100″ deep) while simultaneously cutting a chamfer at the top of the groove for best performance. The smaller 0.118″ diameter slot width puts just enough compression on the gasket to hold it snugly in place when blowing off the top of your fixture. If adding a radius to your pattern, 0.250 on centerlines is best.
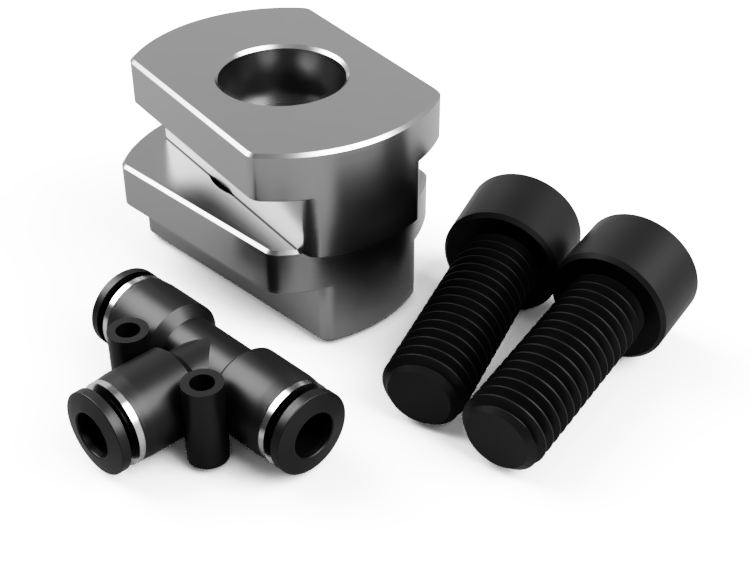
Whenever operating multiple Bases from one VPU, use the set of double sided toe clamps in this kit to mount the Bases with only a 3/4″ gap between. The T-fitting is used to chain the air line to both Bases.
Must Watch: Fine tune your vacuum gasket for best results
Making a 1 off part with the Vacuum Pallet
How to quadruple your feed rate
Designing a custom Top Plate
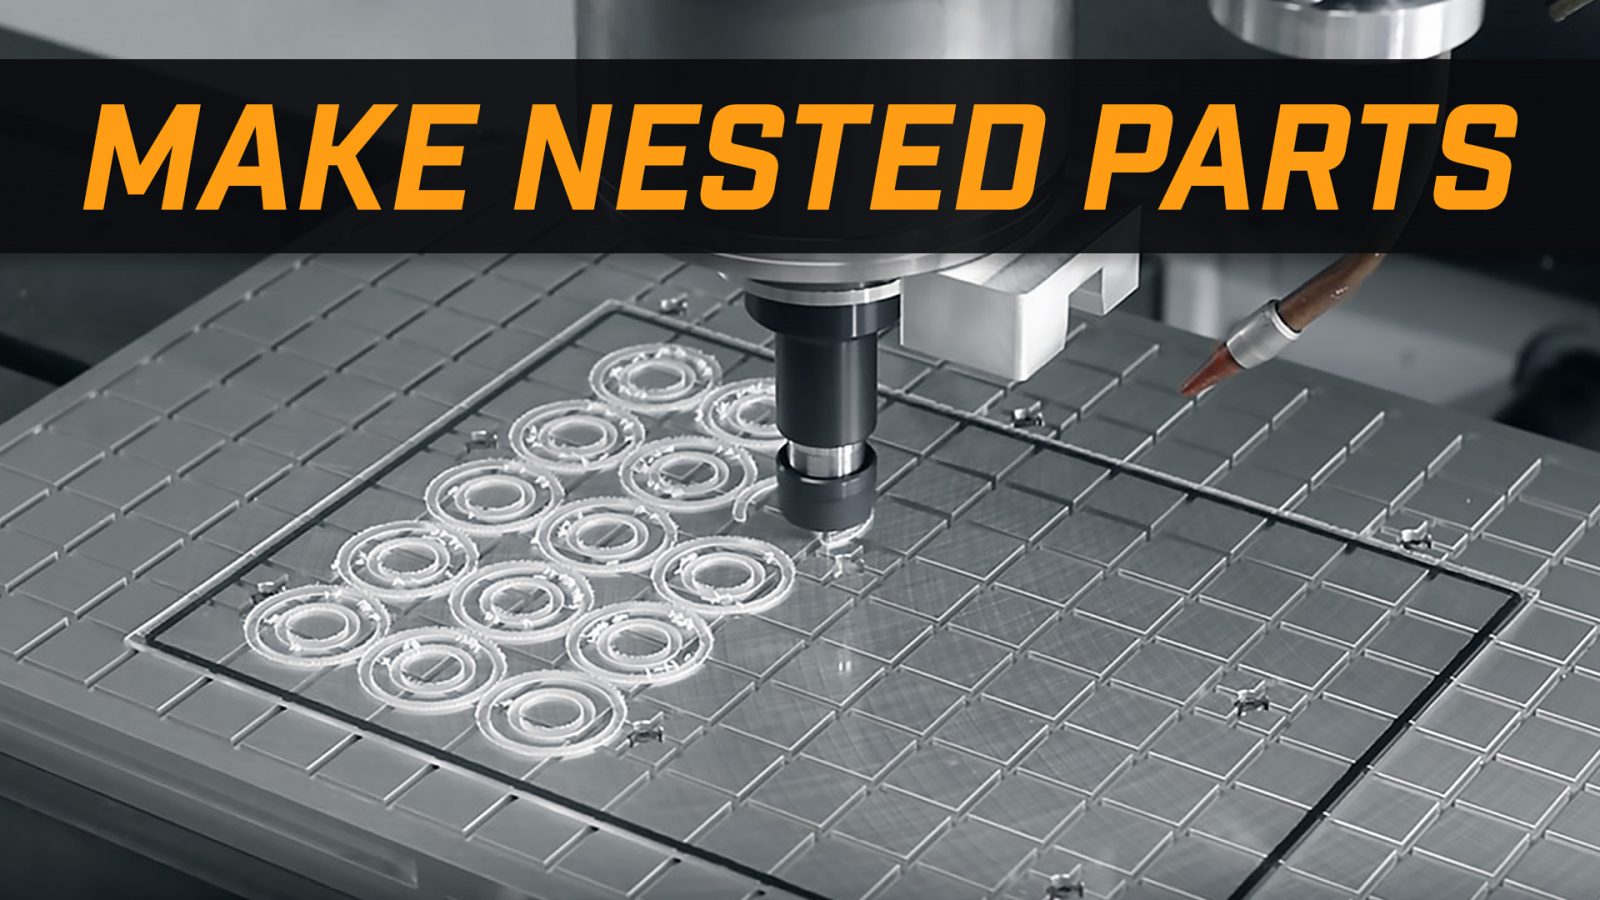
Machining Multiple Parts Per Cycle
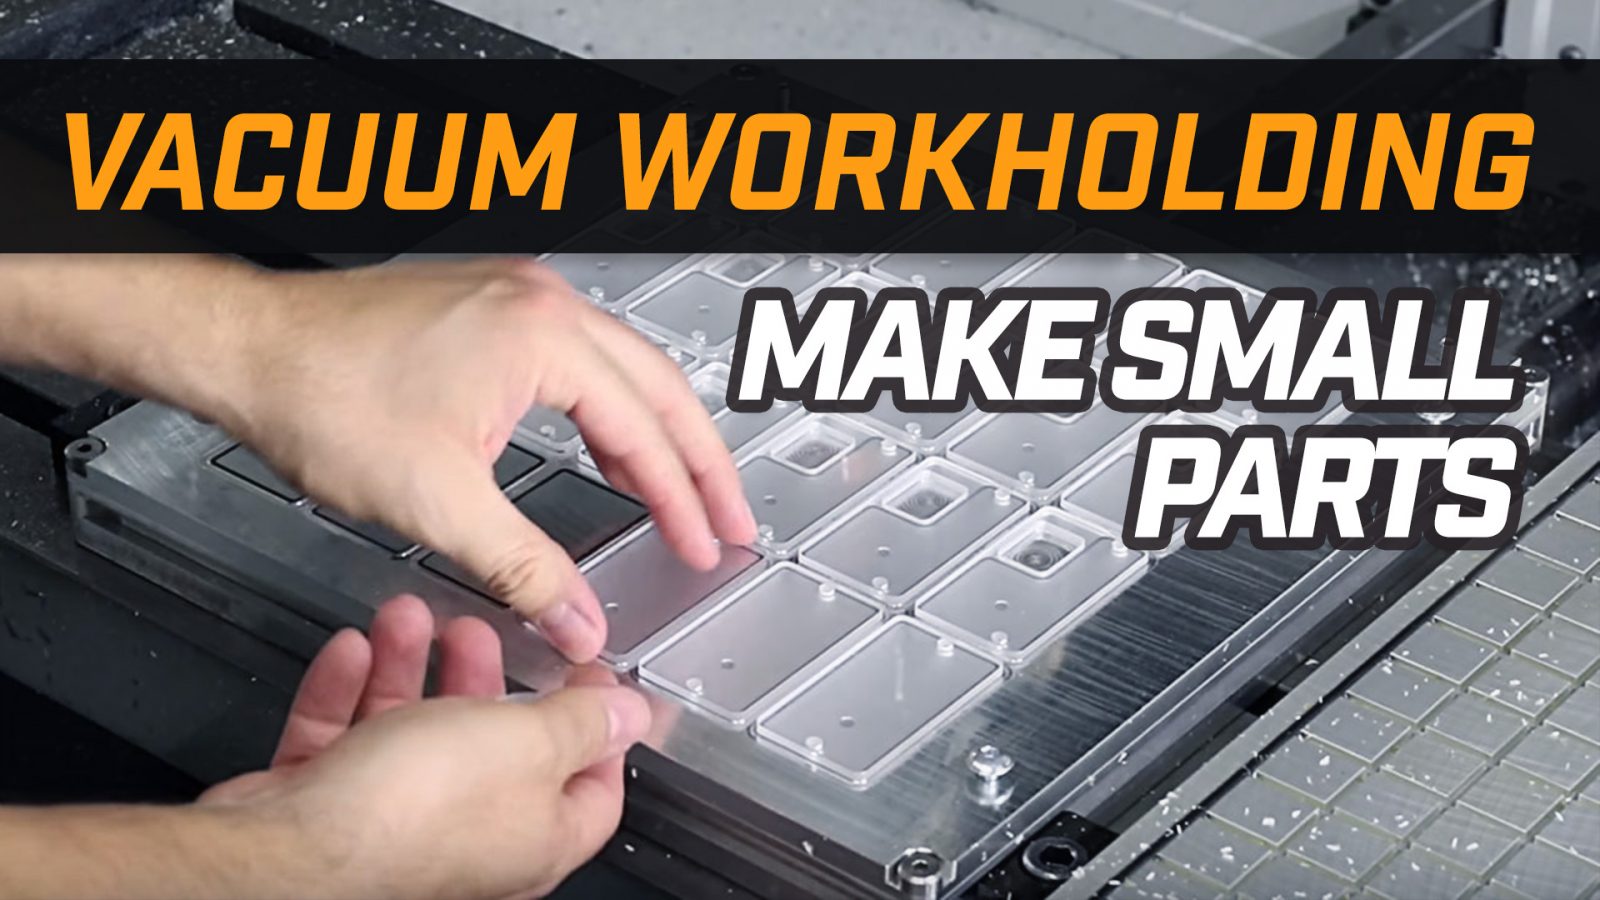
Vacuum Workholding for Small Parts
Vacuum Workholding: The Breakout Method
Top Plate Layout for Complicated Geometries
Troubleshooting a Customer's Top Plate
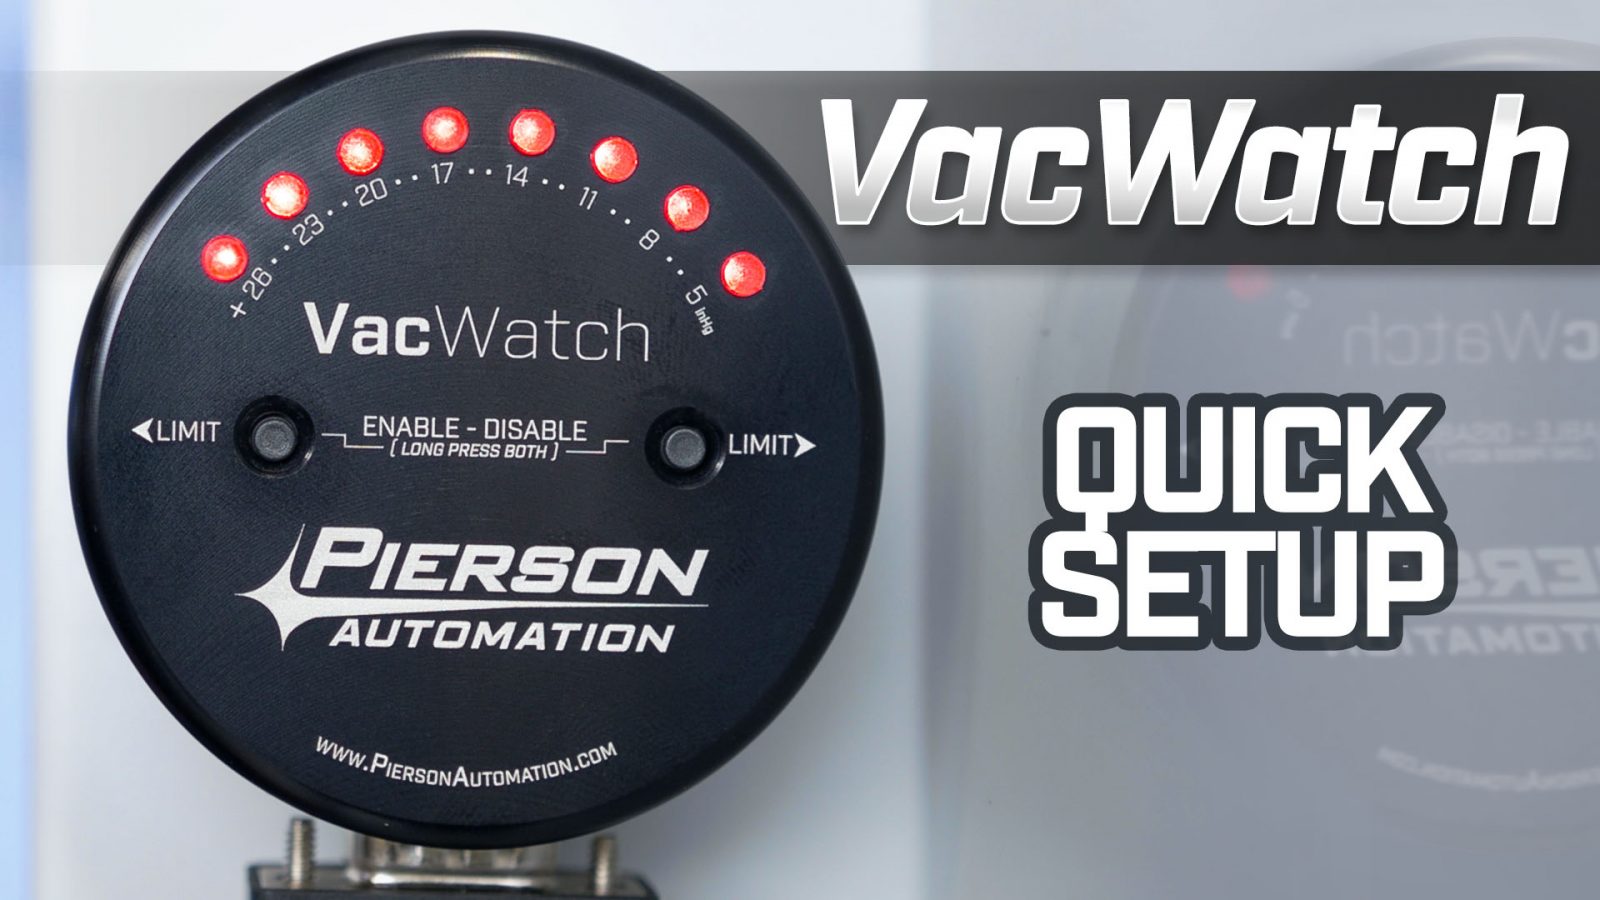
VacWatch Zero Setup (Current Model)
Setup and Operation for the Original VacWatch
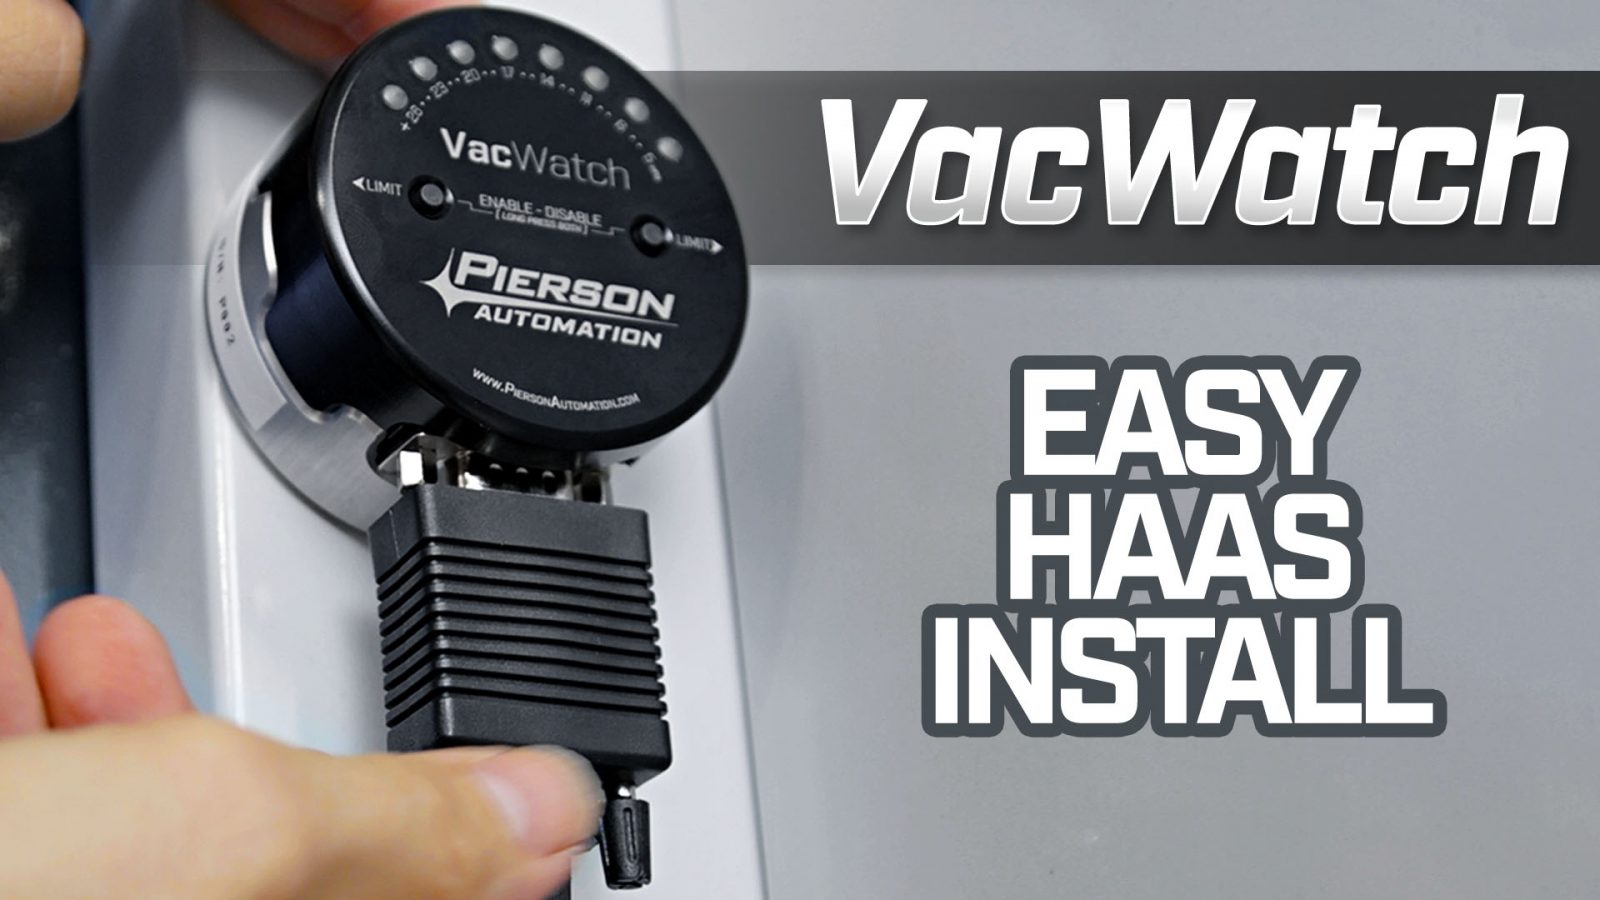
Installing the Original VacWatch on a Haas Mill
Easily Clean the Vacuum Power Unit
SmartVac Applications
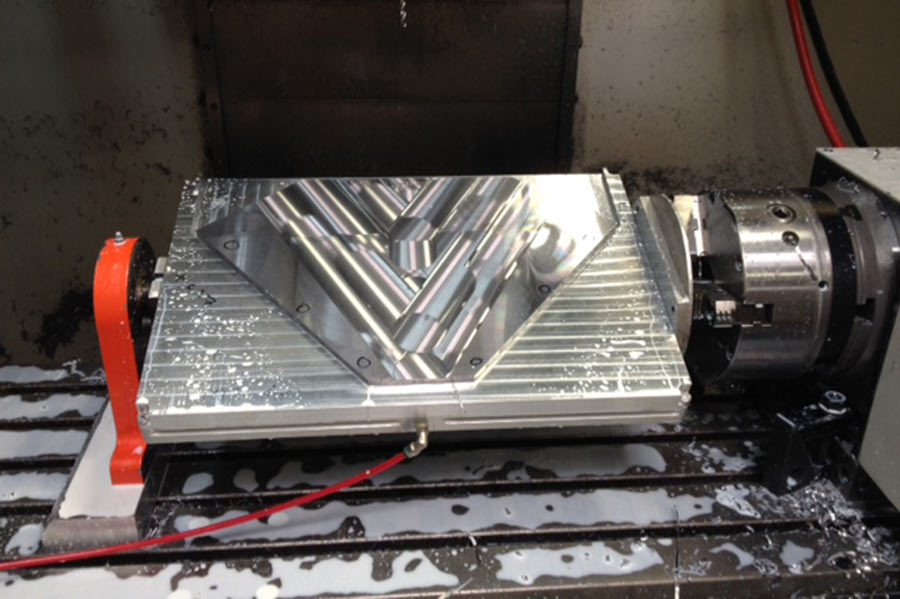
SmartVac Base on a Trunnion
Our customer used a customizable Top Plate to pocket the second operation of their part.They were also able to rotate the part 90 degrees to drill and tap a row of holes on the edge of the part.
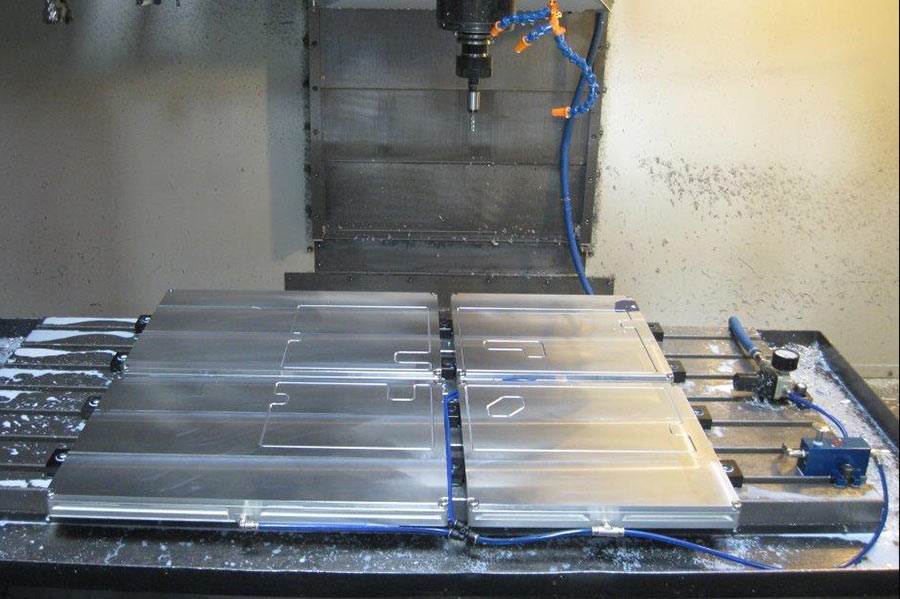
Multiple SmartVac Bases
This customer was able to hold large parts using four of our chucks.Two 1320's and two 1313 sizes. Plus, they customized Top Plates for fast changeovers for different part numbers. One VPU powered them all.
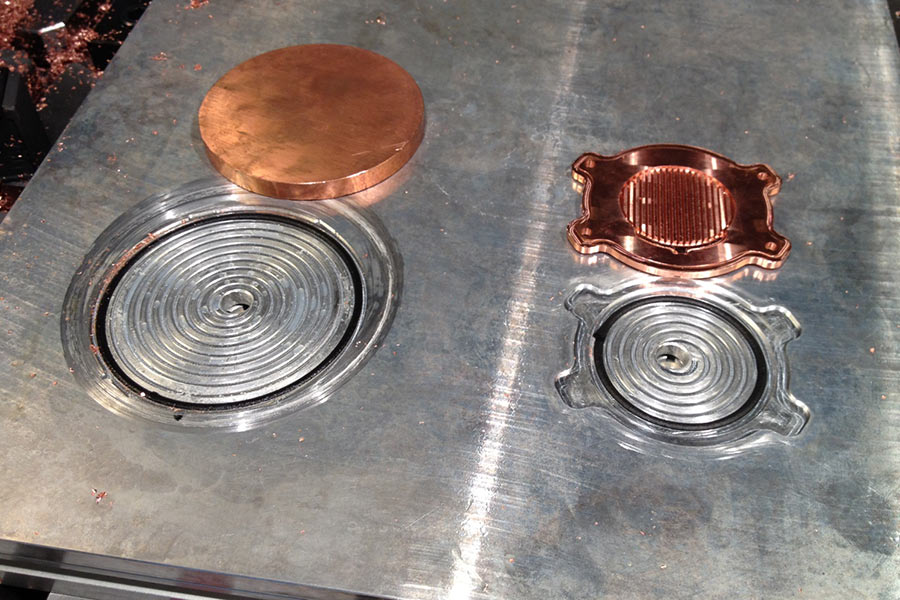
First and Second Operations
These copper parts were machined on the left side from the raw piece to create the profile on the right. Then the part outline was machined into the Top Plate as a shallow pocket for Op 2 on the right.
Models: Models available after purchase. Please email us and mention your order number (W-xxxx) at questions@piersonworkholding.com.
Vacuum Workholding Tips
Vacuum Power has an Upper Limit – The absolute maximum vacuum power any vacuum pump can achieve on Earth is 14.9 pounds per square inch at sea level. This is because the weight of air around us is what actually pushes the part down onto the chuck.
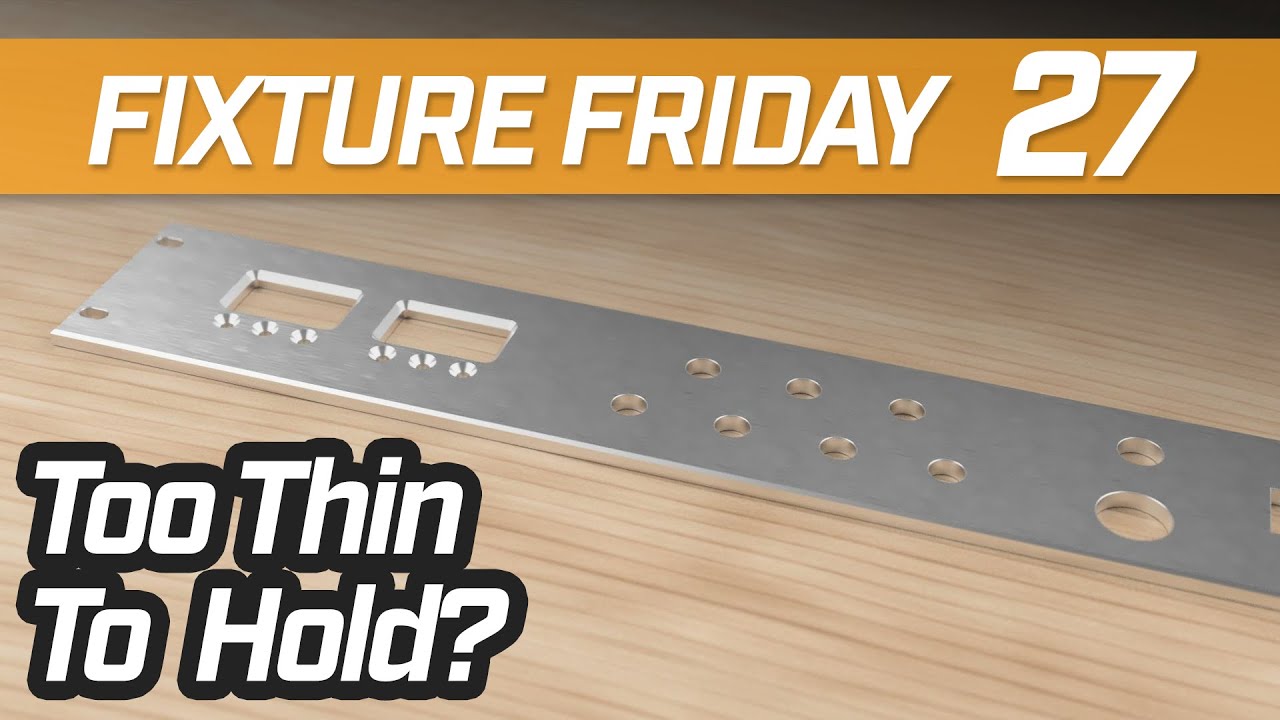
Vacuum Workholding is Often a Secondary Choice – Yes, vises and clamps are the preferred method of holding a workpiece due to theoretically unlimited clamping force, however thin parts aren't easily held with a vise. A vacuum chuck may be your only choice, but don’t expect to be able to machine a part as aggressively as when using a vise. For example, a 3" square workpiece will only be held with 126 lbs of downward force and a 10" square workpiece is held with 1,400 lbs.
Use Common Sense – Holding a part that is 1 inch square and 4 inches tall is not going to hold up against cutting forces. Short and wide parts that absolutely cannot be held with a vise are the best candidates for vacuum workholding.
Use Workstops Whenever Possible – Side loads are the enemy of vacuum applications! Though vertical holding force may be high, cutting forces can shift a part sideways, especially when machining plastics with a low friction coefficients (nylon, teflon, delrin). Adding pins, side rails or following the best practice of cutting a shallow pocket in one of our customizable Top Plates for the part to sit in will maximize sideways rigidity.
Use Small Cutters when Possible (if you’re not following tip #4) – Small cutters exert less torque, reducing side forces thereby reducing the chance of sliding a part off the chuck. Instead of taking a 1/2″ wide cut around a part, use an 1/8″ cut with four passes.
Use Sharp Cutters – Sharp tooling naturally exerts lower side loads which reduces the chances of a part sliding on a chuck.
Use 45 Degree Helix Endmills – Low helix cutters won't lift a part, but they exert higher side loads. 45 deg cutters split the difference between lifting and sliding forces.
Flexible Workpieces Might be Problematic – Because the rigidity of the workpiece helps maintain a vacuum seal, very thin or very soft materials may be more likely to flex at the edges and peel off the vacuum chuck. Use reverse helix cutters that have a downward cutting action and follow the 3 C's:
The 3 C's of reverse helix cutters – Coolant: Have adequate coolant or air to help with chip evacuation since chips are forced downward. Clearance: Machine a clearance trough in a Top Plate along the edge of the cut so chips have a place to go. Corners: Outside corners have minimal support so slow down. Inside corners have good part support but more of the tool is engaged in the cut so side loads are higher than normal so slow down here as well.
The US short answer - Multiply a part's surface area (exposed to the vacuum) in square inches by 14 to find the downward holding force in pounds. The Metric short answer - Multiply a part's surface area (exposed to the vacuum) in square mm by .0098 to find the downward holding force in kg. The long answer - The holding power of any vacuum chuck system is measured by the amount of air it can remove from under a part. You'll see vacuum ratings measured as "Inches of Mercury" or "Hg. A perfect vacuum, like outer space, would equal 29.9" Hg. It takes a lot of energy to create a perfect vacuum on Earth however the SmartVac vacuum chuck draws a 94% or 28" Hg vacuum using only 0.8 cfm or compressed air! This is equal to 14 psi of downward holding force. This means a 6" x 6" part will be held with a force of 504 pounds (36sq.in. x 14psi = 504lbs) or a 150mm x 150mm part will be held with a force of 221 kg (22500sq.mm x .0098 = 220.5 kg).
The perfect part has a large surface area and with a small thickness cross section. Materials can range from plastics to metals. Harder materials can increase side loads during cutting which can slide a part off the chuck so lighter feedrates and depths of cut should be observed. One tip to overcome part movement is to sandwich a piece of 400 grit sandpaper between the chuck and the part to increase friction. Watch this video that explains this concept in further depth:
The heart of the system is our Vacuum Power Unit (VPU). The VPU draws a vacuum equal to or greater than conventional vacuum pumps. Plus, the system is low maintenance since it does NOT require particle filters or coolant traps. Other systems require an electrically powered pump where the SmartVac 3 runs off a small amount of compressed air - only 0.8 CFM! The chuck portion of the system has nine vacuum inlets allowing up to nine individual parts to be held simultaneously where other systems only hold one part at a time. Pricewise, the system is less expensive to purchase AND maintain than comparable, traditional systems.
This is easily done by attaching a Top Plate to the vacuum chuck surface and milling a gasket groove just inside the part's perimeter. Any through holes in the part need to have gaskets around them so the vacuum isn't lost when a cutter breaks through the bottom surface of the part. If the finished part has very thin features (imagine cutting out the letter O), consider leaving .005" to .010" of material at the bottom (the inside of the O) to maintain a larger vacuum area. Depending on the material, you should be able to easily peel out the center section by hand.
For all sizes of gasket, the groove width should be 95% of the nominal gasket diameter. The groove depth should be 80% of the nominal gasket diameter. This means our 1/8" gasket should have a width of .118" and a depth of .100". The same formula for a 1/4" gasket comes out to .238" wide and .200" deep. For best results, add at least a .015" chamfer to the top of the groove. Our Gasket Slotting Endmill makes perfect grooves. The material has a foam core and should compress into the groove and never get pinched between the bottom of the part and top of the chuck.
Yes! The SmartVac is perfectly suited to handle large parts. Multiple bases can be setup adjacent to each other using a Twin Base Kit. This kit contains everything needed to chain multiple bases together and operated by one VPU.
We also make custom oversized top plates if you don't mind a little overhang. Check out our library of sizes of Custom Top Plates.
Yes, however keep in mind that a part(s) across multiple chucks must seal on them simultaneously for the vacuum to draw. One VPU is required for roughly 160 linear inches of vacuum gasket length. The recommended number of chucks that one VPU can reliably power is as follows:
Three 9.5" x 14" Chucks
Three 13.5" x 13.5" Chucks
Two 13.5" x 20" Chucks
One 13.5" x 30" Chucks
One 18" x 24" Chucks
As you may find, the maximum gasket length of 160 inches means that the surface area (which translates into holding force) can vary widely. For example, these shapes all have the same 160" gasket length but different holding forces: (Holding force = area x 14)
All of our products are sold direct. This allows us to keep prices low and to establish a close relationship with our customers to provide the best applicaton advice possible. Click here to order online or give us a call to place an order at (800) 352-2894. We accept all major credit cards and company checks.